I grew up with the sound of the wheat grinder going in our kitchen. My mom and grandmas all loved to grind their own wheat and bake breads. I would often play in the top of the grinder and try to get out any green wheat kernels before they were whisked away. To me there is nothing better than the smell of the freshly ground wheat and the feel of the warm flour running through your fingers. In college I worked at Great Harvest and would bake with freshly ground wheat daily. It made me become a bit of a bread snob and very picky about fresh bread.
To make fresh bread is not rocket science but it does require time. There are a few key elements in making a good loaf of whole wheat bread that will have you begging for another slice.
- Active Dry Yeast. I also store my yeast in the fridge or freezer to help it stay fresh longer. Now if a recipe calls for instant yeast, they can be used interchangeably but you will need to allow more time for the active dry yeast to rise.
- Never judge your “rise” by the amount of time. Part of making bread is that it actually takes you to focus on what the yeast is doing. There are several different things that can affect the rise such as; the temperature of the air, humidity, age of the yeast or how often you bake.
- TIME!!! You can not rush perfection. Give each rise sufficient time to allow the yeast to produce enough carbon dioxide and form air bubbles in the dough.
- Wheat Gluten. In order to get the soft texture you wish for, you need to add a little extra wheat gluten back into the dough. It helps the bread rise and gives it a nice elasticity touch.
- Cover the dough. If you don’t cover the dough during the first rise it will form a soft crust from being in contact with the air and not allow the dough to rise.
- Don’t preheat your oven. I have found that to give my bread the last extra ounce of opportunity to rise, I never preheat my oven. After the second rise when the formed dough is ready to be baked, I then turn on my oven and place the pans in the cold oven. This allows the bread to rise slowly and cook at the same time.
- Measure your flour correctly. 1 cup of flour should be 5 oz. The best way to get the most accurate cup of flour is to make sure your flour is nice and loose. Run you hand through the flour before measuring to make sure that it is not packed. Then dip your measuring cup in the barrel and scoop up the flour. You then scrap off any extra with a knife. Never shake the cup until level.
- Texture of the dough. You want your dough to pull away from the sides and bottom of the bowl. The dough should be slightly sticky to the touch but not cling to your fingers.
- Warm water. The water temperature should be warm enough to take a shower with but not to hot that you couldn’t wash your face with it. Haha
- Practice practice practice. Never judge your bread making abilities after one failed loaf.

Honey Whole Wheat Recipe
- 2 cups warm water
- 1 Tablespoon active dry yeast
- 3 Tablespoons white sugar
- 1/4 cup melted butter
- 1 Tablespoon salt
- 1/4 cup honey
- 1/2 cup evaporated milk (can be substituted with normal milk)
- 3-4 cups of whole wheat flour
- 2 cups all purpose white flour
- 3 Tablespoons vital wheat gluten
- PAM
Instructions
- Add the yeast and sugar to the mixing bowl. Stir. Add warm water. Stir and allow to sit for 10-15 minutes or until it is nice and foamy.
- Combine melted butter, honey, milk, Vital wheat gluten and salt. Add to the yeast mixture and mix together.
- Pour in 3 cups of flour into the yeast mixture. Stir/Knead together using a dough hook (all machines come with one). Add in 1 cup of flour at a time and mix (I always add in my wheat flour first and then slowly add my white flour). Once you get to about 5-6 cups of flour added, examine your dough to see if additional flour is needed. Slowly add 1/2 cup of flour at a time until the dough is no longer sticking to the sides of the bowl.
- Spray your dough ball and sides of the bowl with PAM. Cover with Saran wrap or a warm towel. Set in a warm place and allow to rise (about 1-1 1/2 hrs)
- Once risen, dump onto a counter space that has been sprayed with PAM.
- Knead the dough and divide into 1 lb 12 oz balls of dough. This will leave you a tiny bit extra that I normally divide into 4-5 rolls. If you don’t have a kitchen scale divide into 2 sections but you might need to bake it for longer.
- Roll each section out into a rectangle shape and then starting at one end, roll up and tuck the ends under. Place in a grease bread pan. Do the same with the other section.
- Allow the bread to rise again in the bread pans. Once risen about 1 inch above the pan, place in oven. Turn on oven to 350 and bake for 30-32 minutes. The bottom and sides of the loaf should be a light brown and sound hollow when knocked on the bottom.
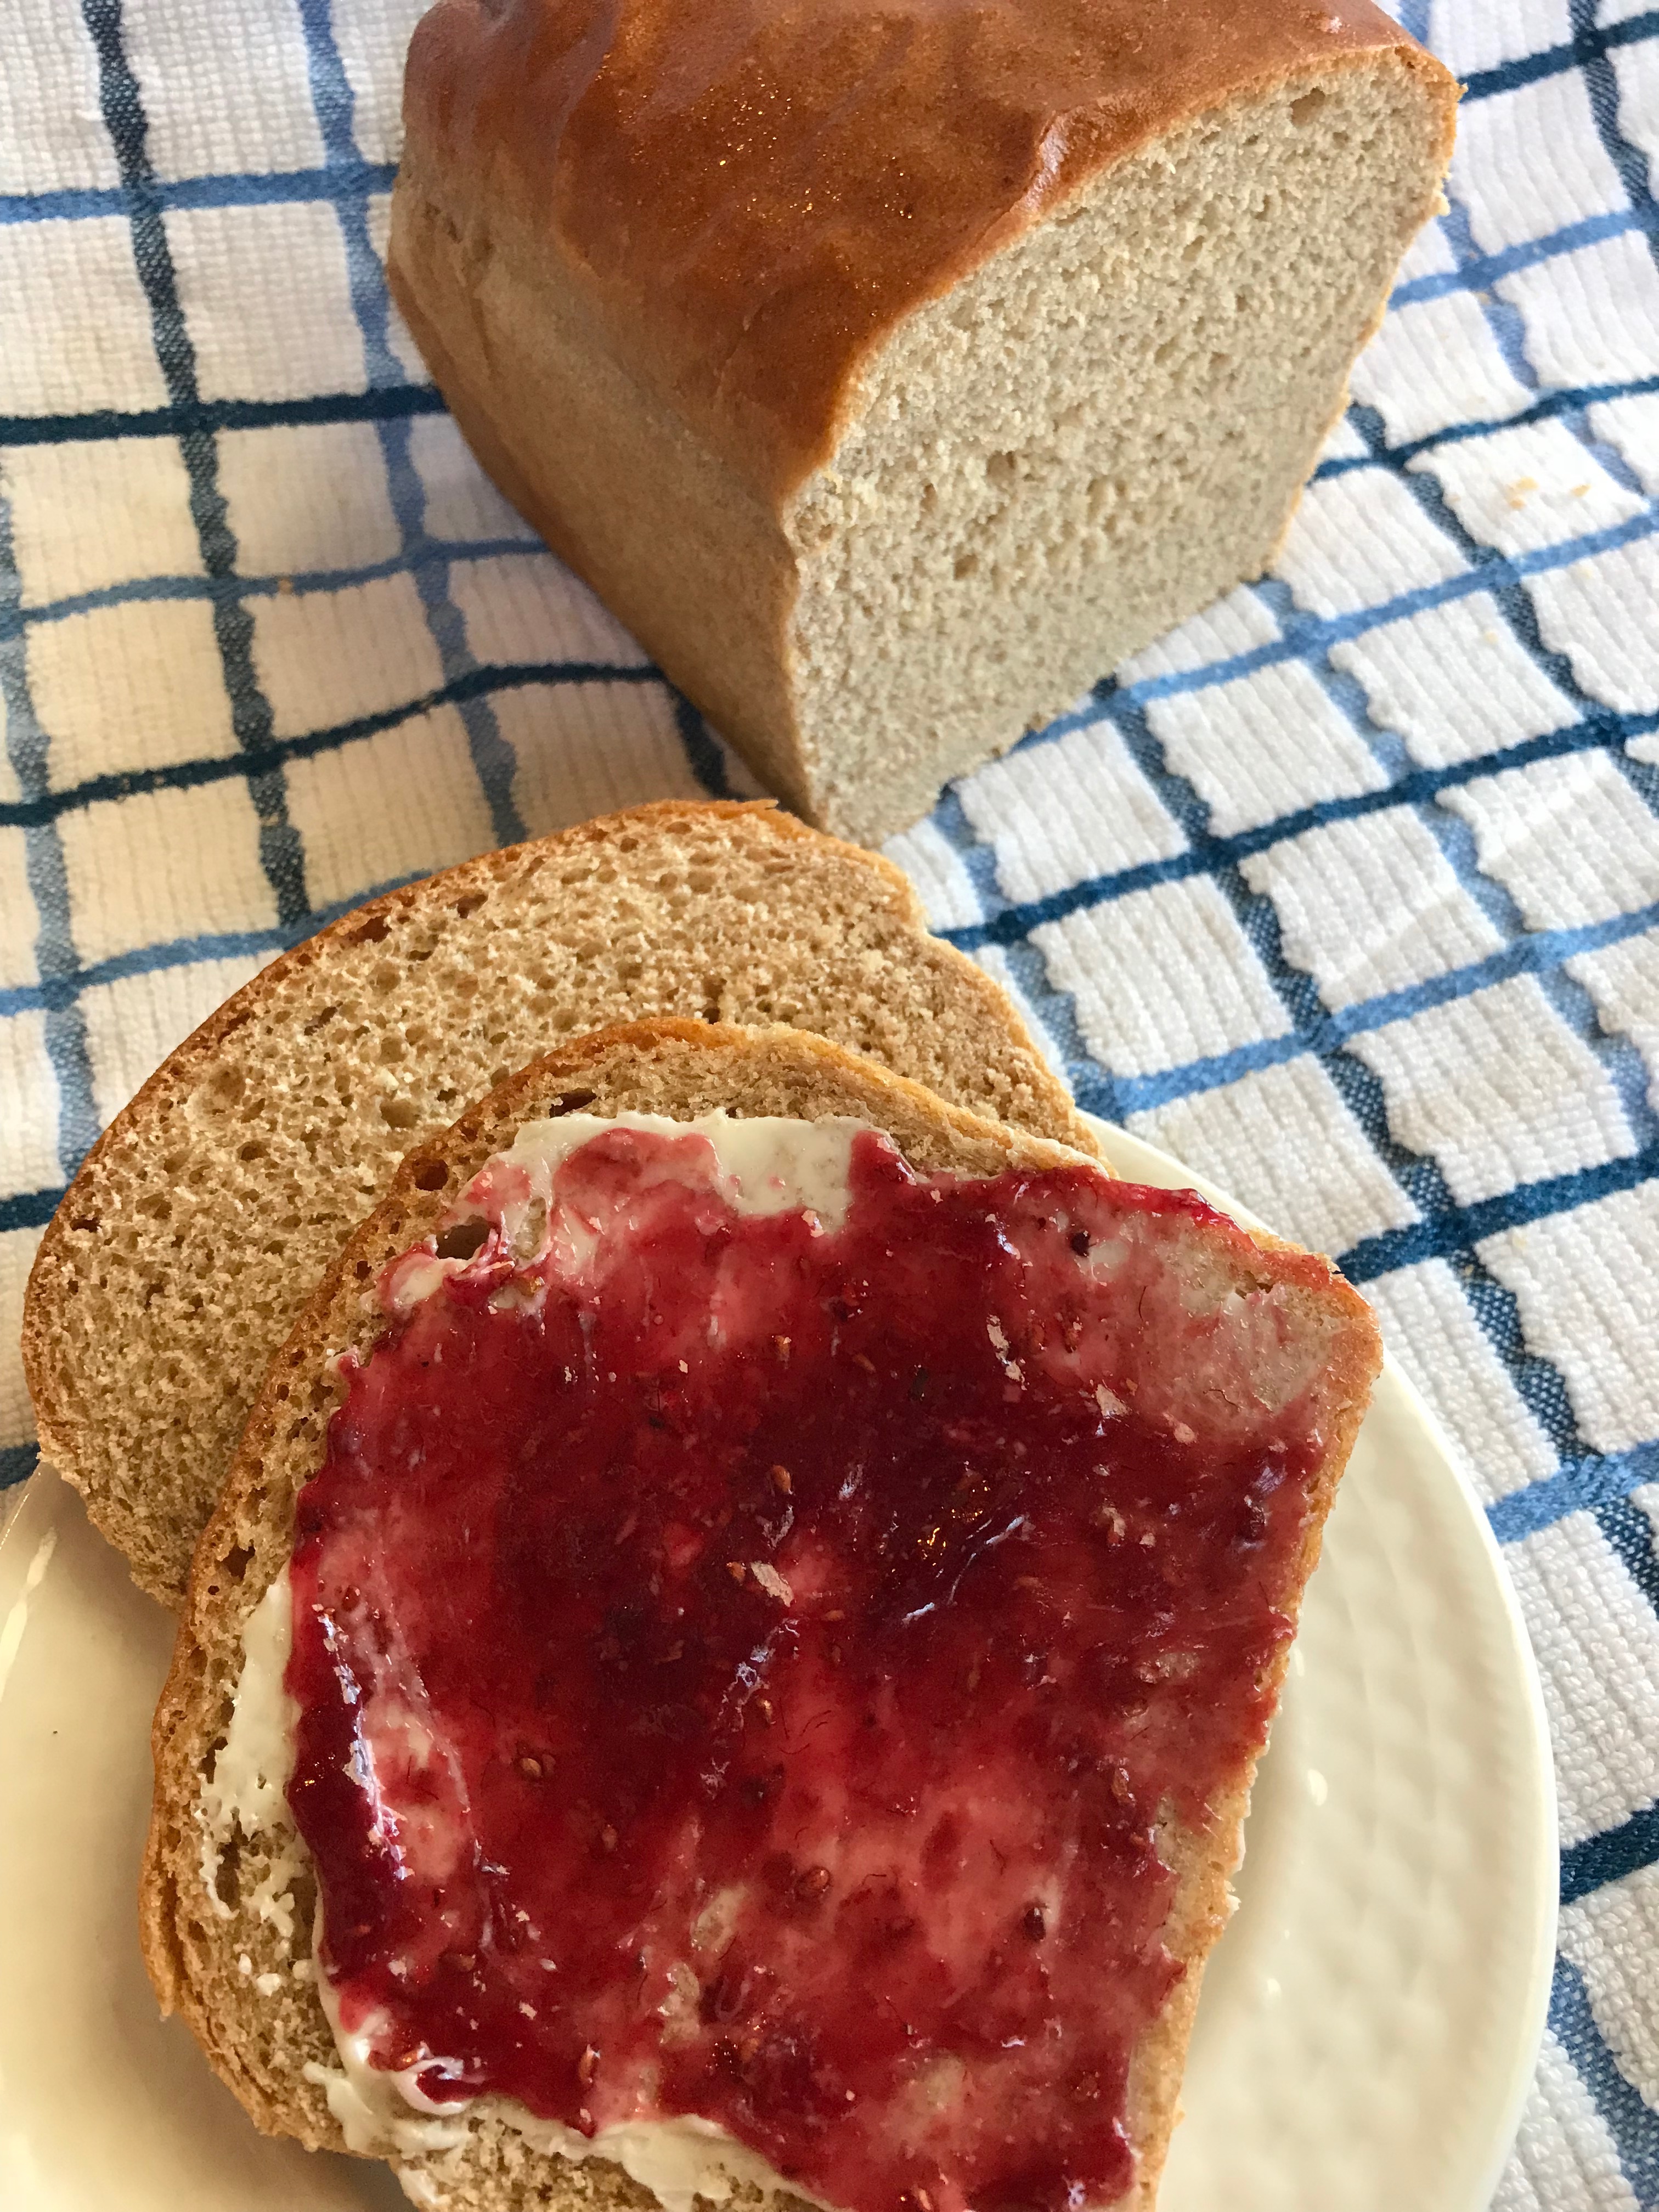
- Coat the top of the bread with butter and cut a nice big slice to be eaten right away!!
Enjoy with butter and homemade jam!
Momma T
